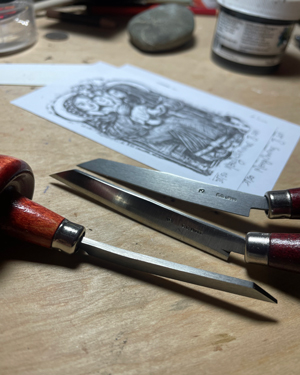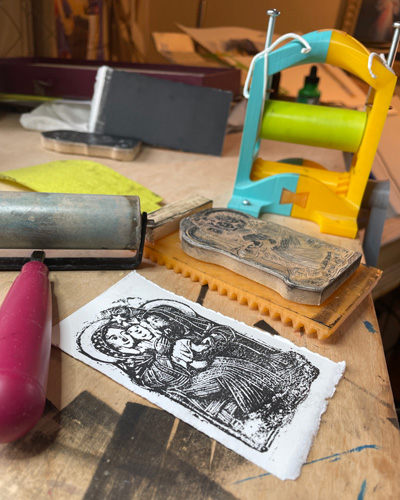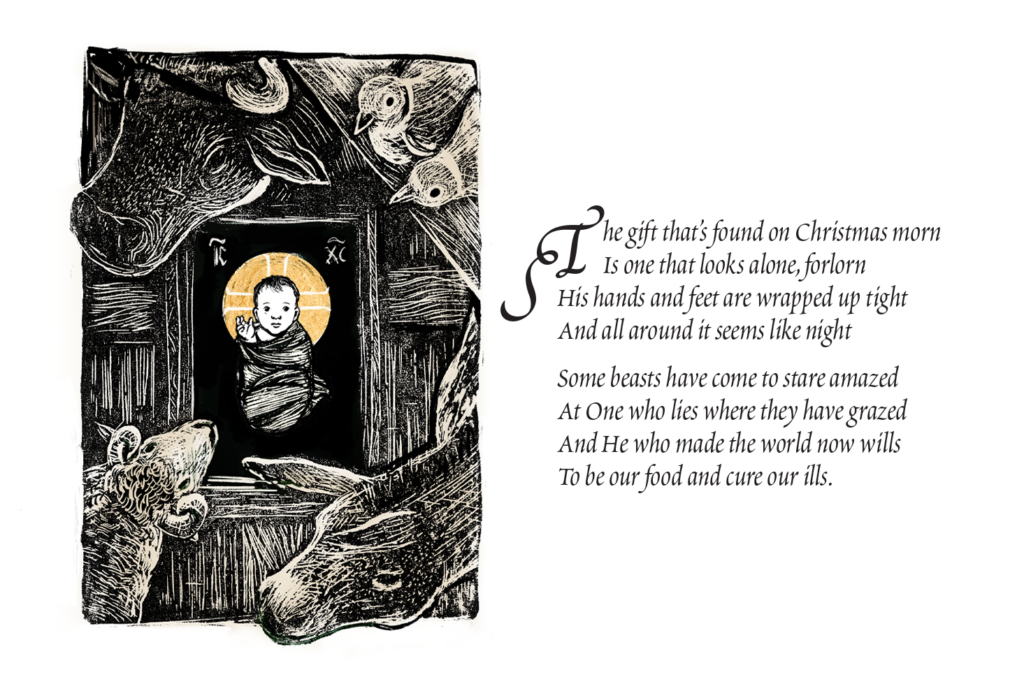
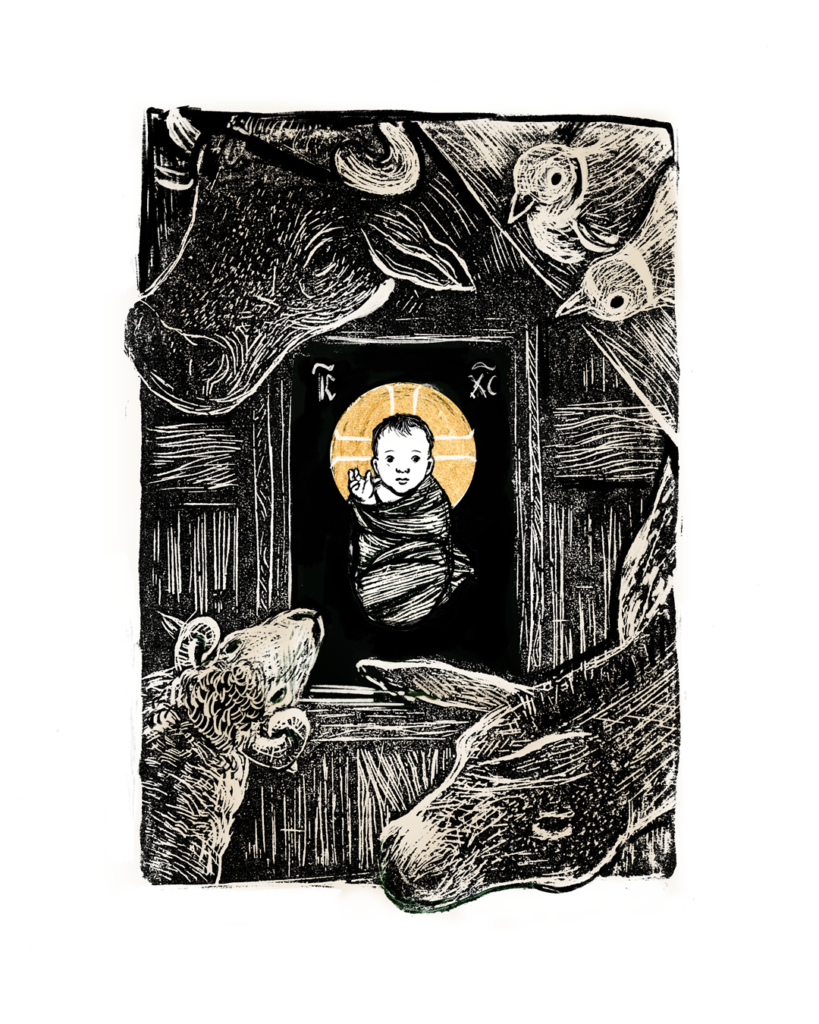
Once again, I attempted to create an endgrain wood engraving print for our family Christmas card. (See last year’s card here.) This year I used a piece of maple that Timothy had in his stash of wood. The wood came from a church pew he had salvaged so I thought it was very appropriate to use for a Christmas card. I had Timothy cut and glue up the wood to the approximate size of the card. I then had to sand and sand and sand it to create a smooth surface. After my first attempt at using the maple, I realized that I needed to practice a bit more with my engraving tools. (In the end, I restarted this design 4 times!). I also found that I had to sand and sand and sand it even more, because when I created a test proof of the detail I had carved, the irregular surface of the wood created a lot of unwanted texture in the print.
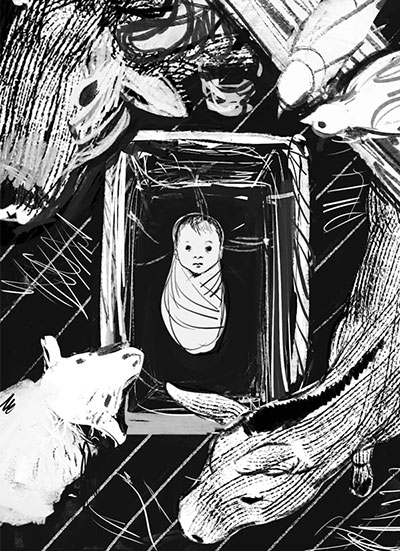
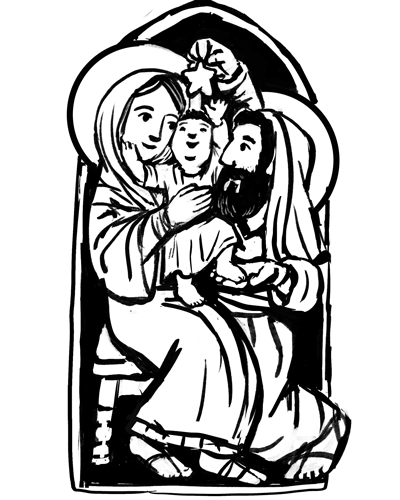
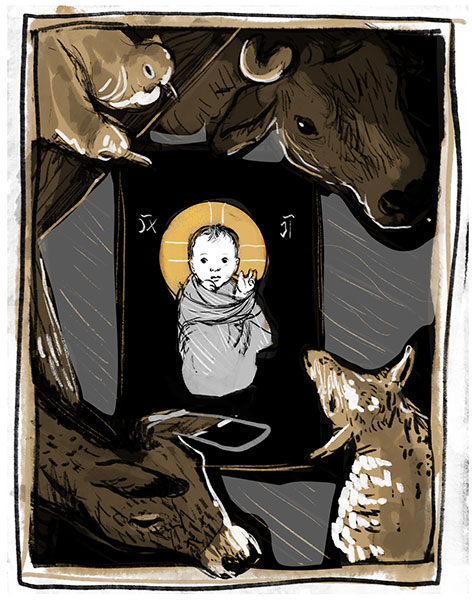
Here is the sketch on which Rachel’s poem is based, which shows Jesus all bound up in swaddling clothes. Many months went by before I picked the project back up and created the final version, in which I let his hand peek out to bless the world; I had forgotten that this didn’t match Rachel’s description in the poem.
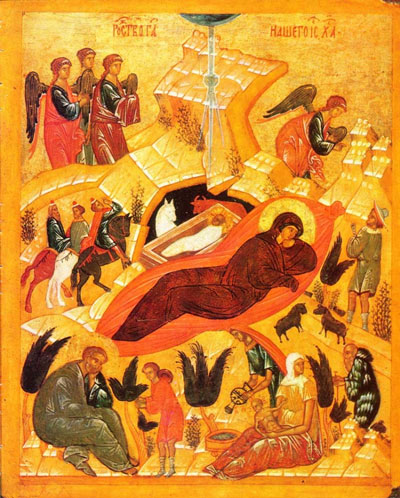
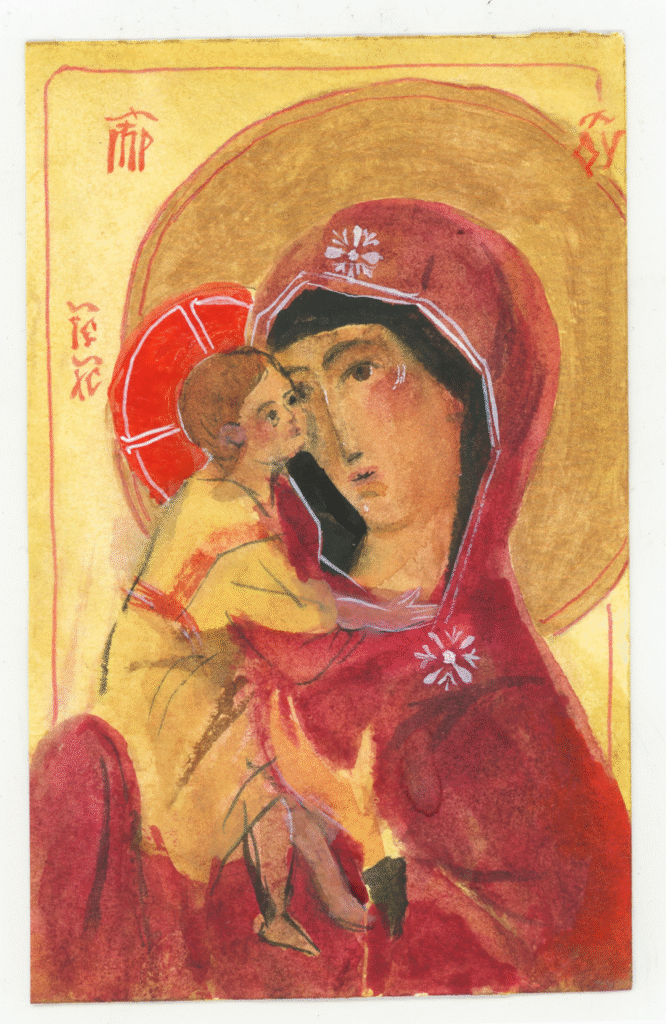
My design was partly inspired by Emma Fitzgerald’s presentation on iconography at the Simone Weil House’s Agronomic University. During the presentation, Emma displayed this historic icon of the Nativity, and pointed out that the black of the cave represented the grave (as did the swaddling clothes.) In my sketch, I imitated this by drawing the baby Jesus floating in in a black rectangular void rather than drawing the wood of the manger.
As I mentioned I restarted the carving 4 times. This isn’t as bad as it sounds, (except for all the extra sanding) because I started with Jesus’ face. I figured if I wasn’t happy with how baby Jesus looked I wouldn’t take the trouble to carve the rest of the design. In the end I still wasn’t satisfied with how the baby looked (I really was attached to my final sketch!) Despite my unhappiness with how I captured baby Jesus’ face, I foraged ahead because it was getting late!
I printed the first 10 prints and was happy with a few of them (I’m also using new ink this year which behaved differently) but then the thinner lines on the block started filling in. I tried to clean it in a variety of ways but it seemed to get worse and worse.
So, I decided to scan and edit the print and send out the card via email this year. It allowed me to use the parts of the print I loved (the ox) and the parts of the sketch that I liked better than the print (the baby’s hand and face).
I’m already planning next years card and once again I’m promising myself that I’ll spend some time practicing engraving and printing, and finish the card before advent starts next year. Tune back in December, 2026 to see if I keep my promise. 🙂
Back to 5sparrows.com
